
7 Ways to Prepare Your Home for a Professional Residential Painting Team
When it comes to revamping your home and giving it a fresh look, few things can compare to the transformative power of a professional residential painting job. If you’re ready to breathe new life into your home with a stunning interior painting project, preparation can help save time and effort in the long run. Read on to learn some super simple ways to prepare your home for a professional residential painting project.
1. Take Down Wall Décor
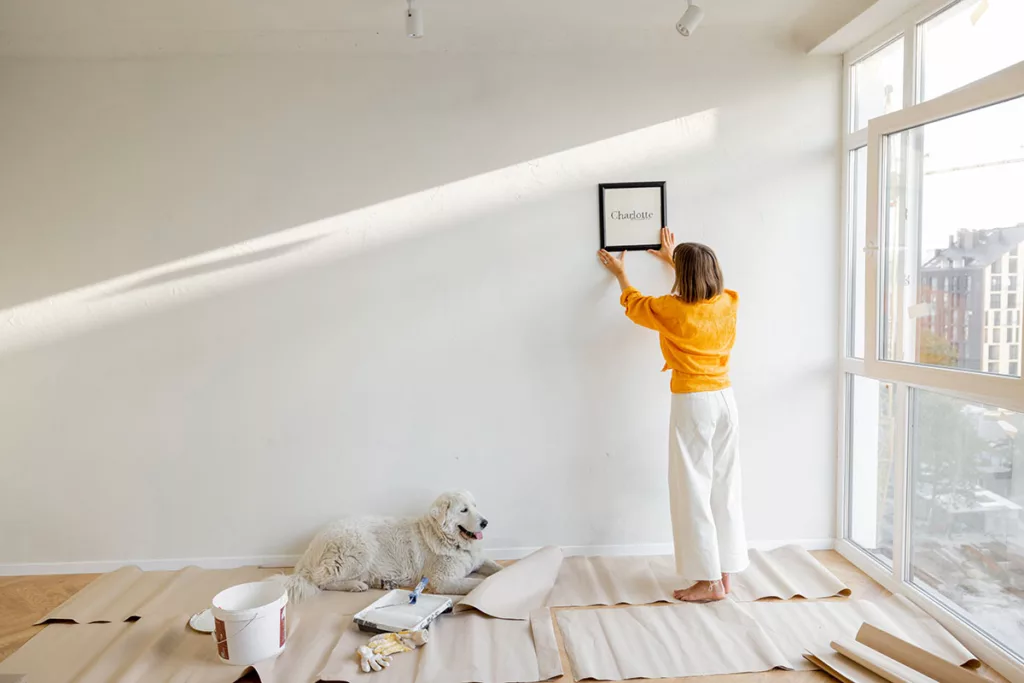
Any photos, clocks, artwork, and other wall décor should be removed before painting starts and stored in a safe space away from the project. This will not only protect your items, but also make sure the walls are clear and ready for an even paint job. Any chips, holes, or cracks in the pre-existing paint layer will be fixed up by the painting team, but make sure to remove your décor as carefully as possible to reduce the risk of damaging the drywall.
As you take each item down, make sure to keep track of its corresponding hardware (screws, nails, etc.). Putting everything in a clear Ziplock bag and taping it to the back of the item is a great way to keep everything together. This will make rehanging your decor much easier once the paint has dried and cured.
2. Move Furniture Away from Walls

Before painting starts, it’s vital that all furniture is moved away from the wall, or completely out of the room if possible. This will protect the furniture from any potential scuffs, paint spills, or other damage. This is also important because it makes space for painters to do their job efficiently and safely, since this step removes potential tripping hazards from the area.
3. Empty Out Closets and Cabinets

When preparing your home for a professional residential painting project, it’s easy to focus solely on visible surfaces like walls and ceilings. However, don’t forget about the often-overlooked spaces behind closed doors—your closets and cabinets.
Removing items from closets and cabinets makes the project a lot easier for the painting team, and you also safeguard your belongings from potential accidents and fumes. When the paint has dried and properly cured, you’ll be greeted with not only freshly painted walls but also well-organized and refreshed storage spaces.
4. Remove Rugs and Window Treatments
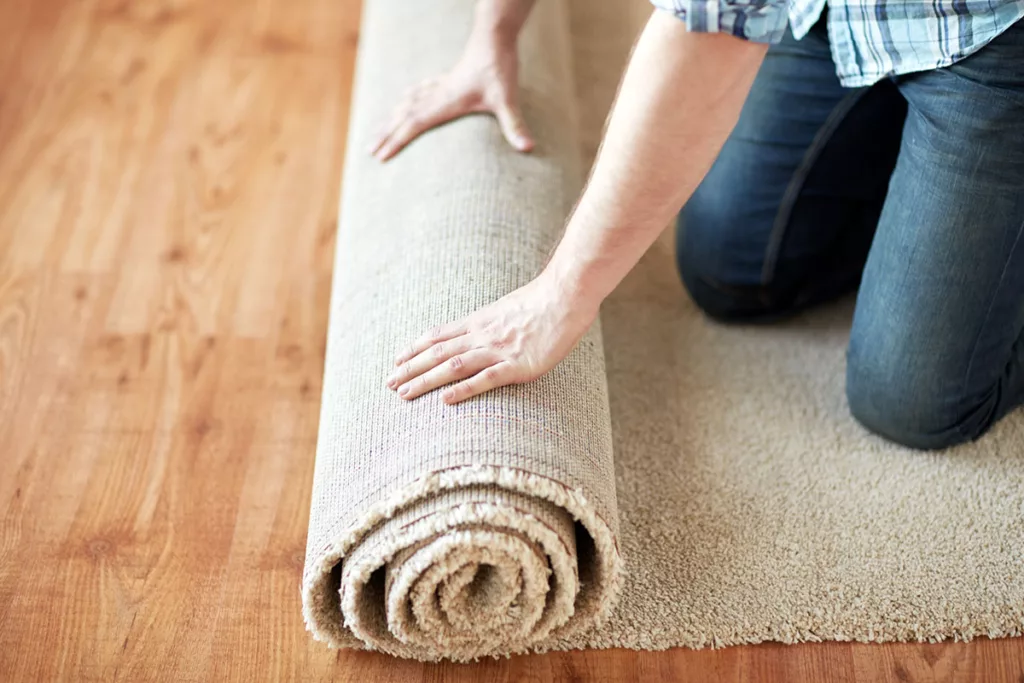
All rugs and window treatments in the room to be painted should be stored elsewhere throughout the duration of the project. Large area rugs will get in the way of the protective paper painters lay down before a project, and window treatments like curtains or blinds might get in the way once the painting process begins. Removing these items will also keep them safe from paint spills that can be tricky to wash out.
5. Remove Tripping Hazards

Creating a safe and obstacle-free environment is incredibly important when preparing your home for professional residential painting. Removing tripping hazards not only safeguards you and the painting crew but also ensures that the job can be executed efficiently and reduces the risk of accidents or injuries.
Possible tripping hazards that should be removed before an interior painting project include:
- Electrical cords and power cords
- Extension cords
- Kid’s toys and playthings
- Pet toys, beds, and food dishes
- Pets
- Shoes and slippers
- Small rugs and bathmats
- Etc.
By taking the time to remove tripping hazards from your painting area, you not only create a safer environment but also contribute to a more efficient and successful painting project.
6. Vacuum and Dust Each Room
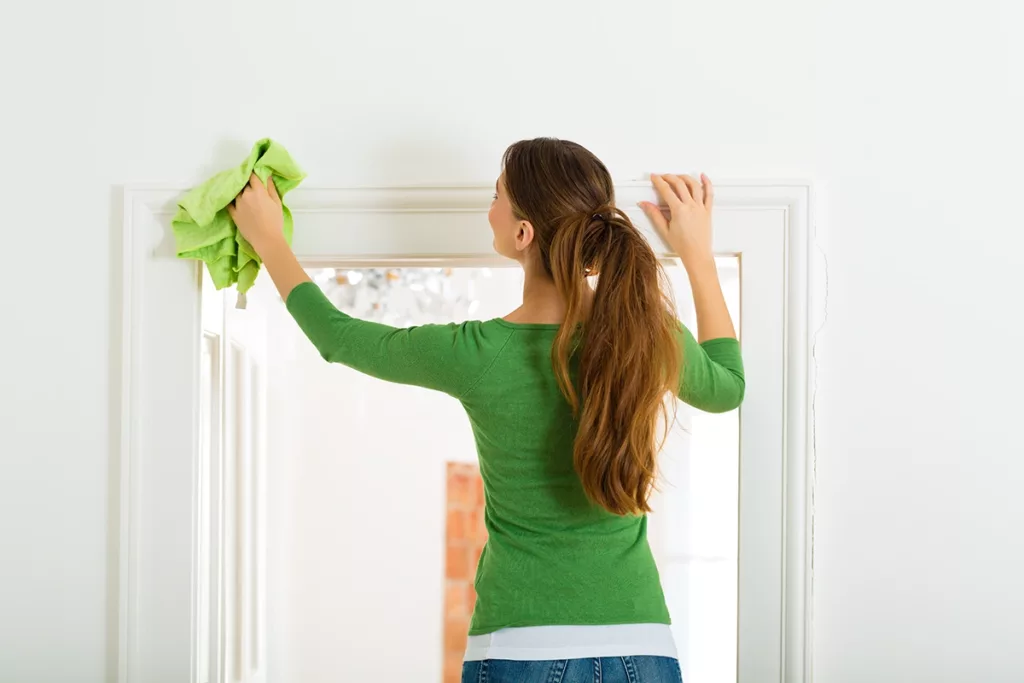
After managing clutter, you should give each room a good wipe-down to remove as much dust, dirt, and debris as possible before painting begins. Vacuuming and dusting each room is a relatively quick and straightforward step, but it makes a world of difference in the quality and longevity of your paint job.
A clean and dust-free environment ensures that the paint adheres properly to the walls and doesn’t trap the particles underneath, which could affect the finish. Plus, if dust gets stirred up during the painting process, it can settle on freshly painted surfaces, leaving unsightly imperfections.
It’s best to start at the top and work your way down to the walls, windows, and other surfaces. Check corners and ceiling edges for cobwebs and wipe down ceiling fixtures, walls, windows, and other surfaces. Then sweep or vacuum the floors and along baseboards where dust tends to accumulate.
7. Plan on Staying out of the Room
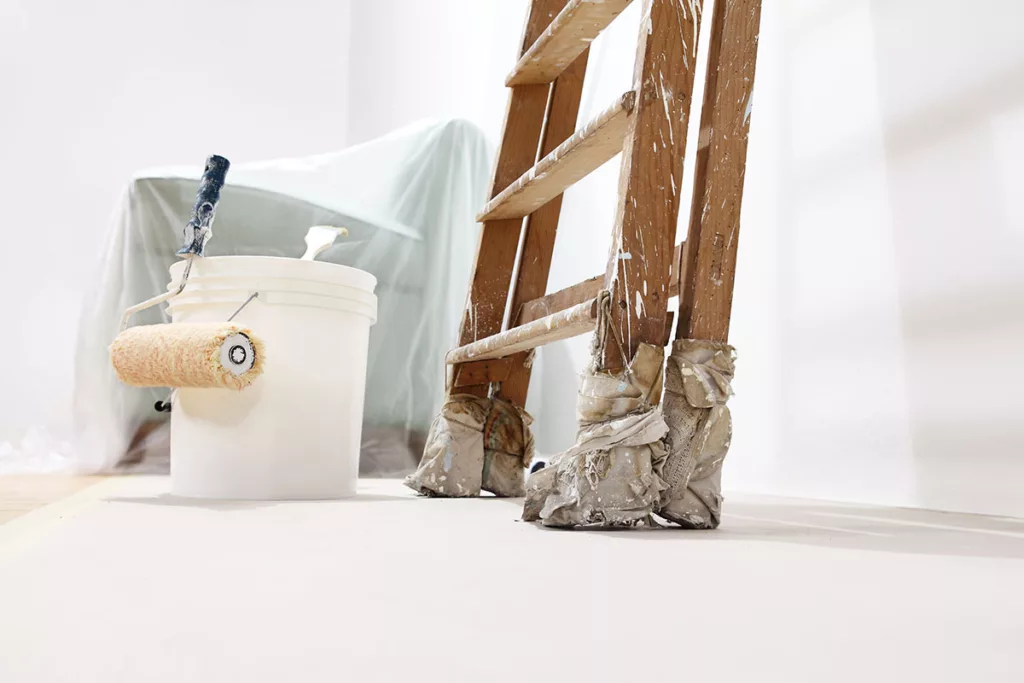
While the excitement of a freshly painted room may tempt you to return to your space as soon as possible, it’s important to plan on staying out of the painted area for at least three days. This crucial step in the painting process allows the paint to properly cure and ensures the best results for your new interior paint.
Paint requires time to dry and cure fully. Rushing back into the freshly painted space too soon can result in smudges, scuffs, and damage to the finish. Fresh paint can also have an unpleasant odor and may be harmful to inhale, especially for sensitive groups, children, and pets.
Painting jobs are scheduled ahead of time, so during the preparation stage, it’s good to plan on where you and any pets or little ones will be staying when the project begins.
Let the Professional Residential Painting Team at Timmins Handle the Rest
Giving your space a deep cleaning and managing your belongings will help you prepare your space for a successful painting job. By following the steps listed above, you can make things safer and easier for the painters, save time, and eliminate unnecessary hassles.
At Timmins, we have decades of experience making homes and businesses a little bit brighter with professional painting services. If you’re in need of professional residential painting services, call (707) 792-0773 today to speak with an expert, or request a free painting estimate online.