5 Easy Tips for Cleaning Your Interior Walls
Planning to paint your interior walls? For the best results, you’ll want to clean your walls first before painting. This helps ensure that dust isn’t trapped in the new paint and that the new paint adheres better, for a longer-lasting result.
With a methodical plan, like the one outlined below, getting through this critical preparation will be a breeze.
Choose and Gather Materials
As with most projects, making sure you have everything you’ll need before you begin, will make the job go faster, and without interruptions. For this small project, the list is pretty simple.
- 2 buckets for warm water
- A pair of latex or nitrile gloves, if desired
- Tarp, or old blankets or towels
- A mop that uses dry, disposable microfiber cloths with plenty of extra cloths
- Soft rags or a sponge (for tight spaces, and if you don’t have the mop)
- Mild dish soap
Stick with Warm Water or Mild Soap
According to PROHousekeepers, when cleaning before painting, you only need warm water and a little dish soap for greasy kitchen walls. If you have stubborn spots that are not responding, you can use one of the cleaners they recommend, based on paint finish:
- Flat or matte paint: White vinegar or plain water
- Glossy paint: All-purpose cleaner or dish soap and water
- White paint: Baking soda and water
- Latex paint: Dish soap and water, or vegetable oil-based cleaner
- Oil-based paint: White vinegar, or dish soap and water
Before You Begin
With all the materials gathered, it’s time to move the furniture and other items away from the walls, and remove the art or other items hanging on them, including the nails or picture hangers.
While you won’t be using much in the way of cleaners, it can still get messy as you move back and forth between the bucket and the wall, so covering your floors with a tarp, or old blankets or towels will protect them from the mess.
How to Clean Your Walls Before Painting
With the area prepped and your materials gathered, it’s time to get to the cleaning. Follow these easy steps, and you’ll have clean walls, ready to be painted, in no time.
1. Dust
Before washing the walls, you’ll want to dust them to remove dust and cobwebs. The easiest way to do this is with a dust mop or long-handled duster. Dust from the top down.
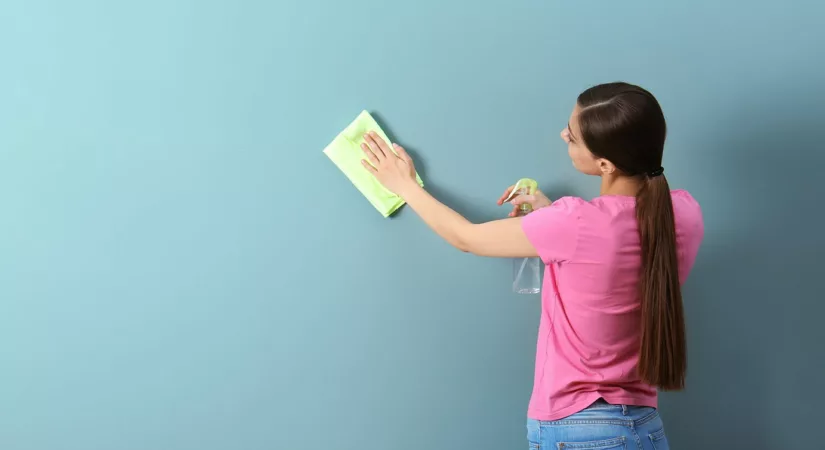
2. Wash
To reduce the chance of streaks or paint damage when washing your walls using a cloth or sponge:
- Avoid getting walls too wet
- Wipe in a circular motion
- Work from the top to the bottom
Alternatively, if you have a mop with disposable cloth pads, you can use a spray bottle to mist your walls with water. Spray and wipe, small areas at a time, again working from the top down, resisting the urge to scrub too hard.
3. Spot Treat
As you go, there may be spots that aren’t coming clean. For these, you can use a new damp cloth with a bit of cleaner (see list above) and gently rub.
4. Rinse
With a fresh cloth or a new one on your mop, use clean warm water in your second bucket to rinse any cleaners you may have used, and address streaks.
5. Allow time to dry
Always remember to allow enough time for the walls to fully dry before painting. Painting over a wall that is damp will cause bubbling or peeling paint.
Hire a Professional Painter for a Professional Paint Job

Now that your walls are clean and dry, you can get to painting. If you’re looking for trusted residential painters in Sonoma County, Timmins Painting has been providing professional painting services for over 25 years. Give your home a fresh new look without having to deal with the prep or the painting. Only a professional painter can provide a professional result. And ours is guaranteed.
Contact the team at Timmins Painting today to discuss your vision and schedule a free estimate.